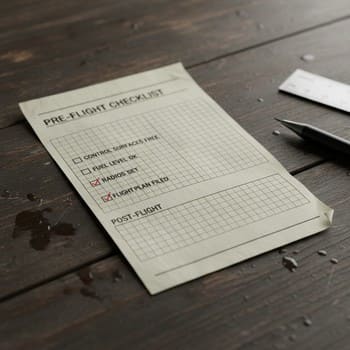
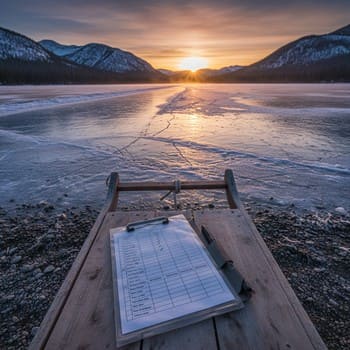
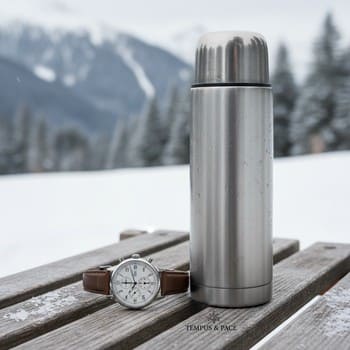
Bench check
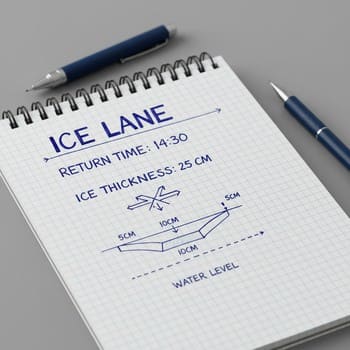
Ice numbers, lane and return time written on a card beside the kit.
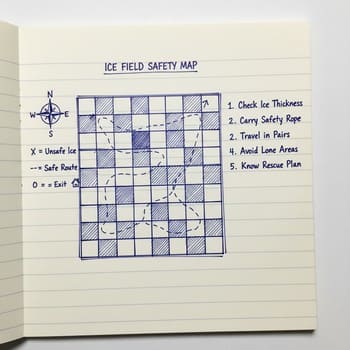
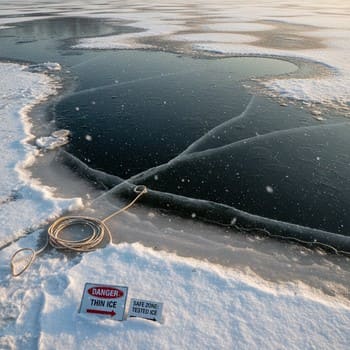
Safety & guides
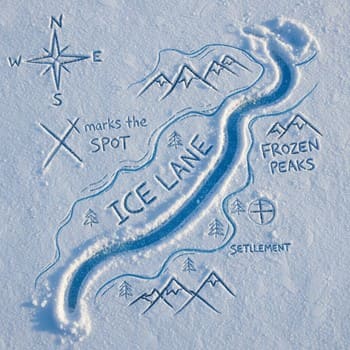
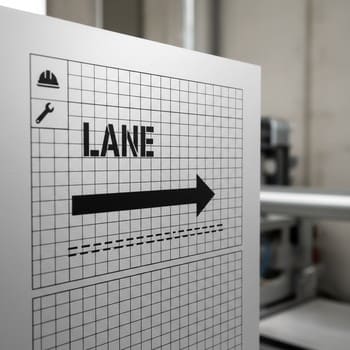
Start with the grid, not the weather app. Pick a lane, write one clear plan and let every move on the ice follow that pattern.

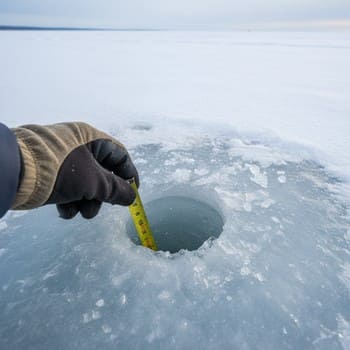
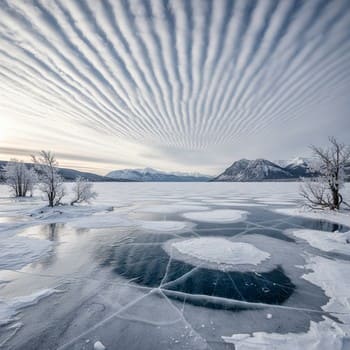
Ice primer
A calm night starts with measured ice. These ranges are not universal rules, but they give your kit a language to follow.
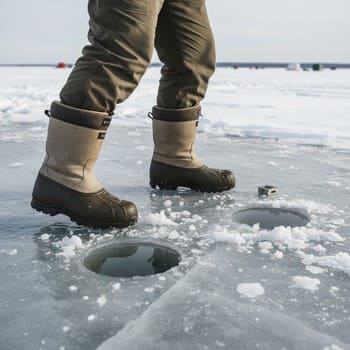
Slow with a spud bar, test every step and turn back if you feel any hollow sound.
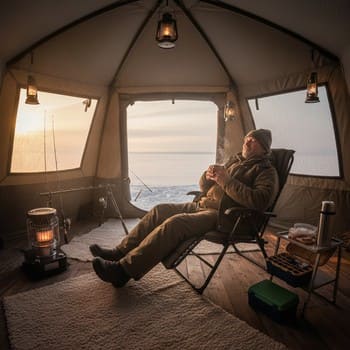
Light solo kit only. No extra chairs, no heavy buckets and never a crowd around one hole.
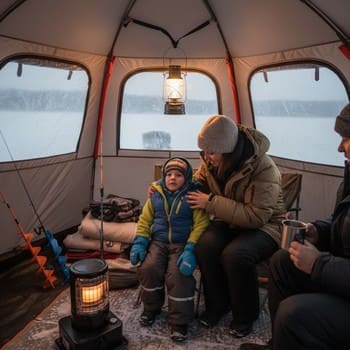
Family bubble with a simple path in and out. Extra layers and snacks in one shared cube.
Deep-cold kit with more weight, long walks and sonar. Still one exit lane kept clear.
Pre-ice strip
This is the route your routine follows before you ever step on the ice. Short, predictable and written where everyone can see it.
Ice numbers, lane and return time written on a card beside the kit.
Someone at home knows where you park and when a “back on shore” message should arrive.
Test ice thickness before you even think about dragging the sled onto the lake.
Decide the latest safe time to head back while the night still feels easy.
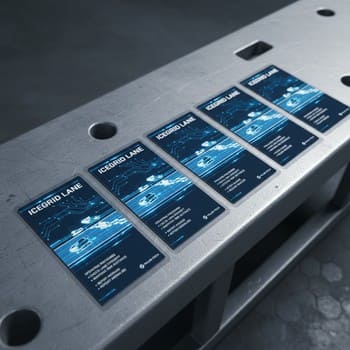
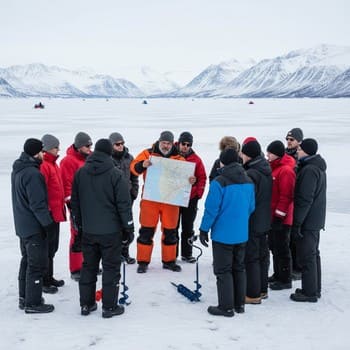
Lane cards
A pocket card beats a crowded app screen. Lane A, B and C each get a short rule set: ice band, distance, turn-back line and who the night is for.
Light kit, early ice, one clear exit lane. Card notes: safe thickness range, max walk distance and a strict return hour.
If any note on the card feels wrong on arrival, you switch to “no-go”, not “maybe”.
Short path, simple holes and a warm shelter. The card lists where kids may walk and where they do not.
Everyone sees the card before leaving the car, not on the ice when hands are already cold.
Heavier sled, longer walk and stricter fuel notes. The card tracks back-up time if weather moves faster than planned.
One person reads the card aloud before drilling the first hole in each new area.
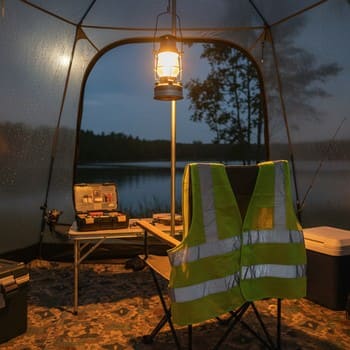
Signals & light
A few tiny rules around light and reflectors keep the group connected without lighting up the whole lake.
One person wears a high-visibility vest or band. Everyone else uses small reflective patches on jackets and sleds.
A single, steady light on shore marks the exit lane. It never flashes or changes colour during the night.
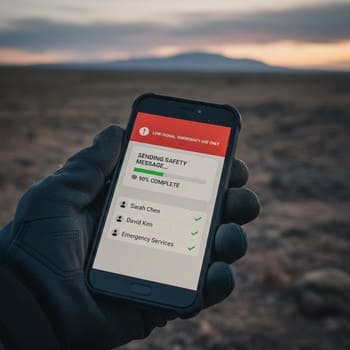
One short message template tells people at home when you reach shore, step on ice and start heading back.

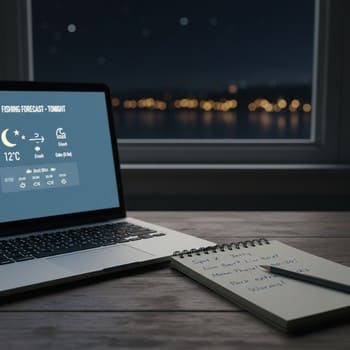
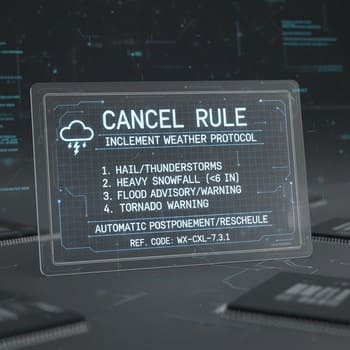
Weather band
A simple grid on paper turns the weather into three clear options: go, shorten or cancel. No arguing with radar loops in the dark.
Wind and temperature hold steady. You keep the original lane and return time without stretching the plan.
Fronts or snow bands are on the way. You still go, but the card shows a shorter lane and earlier turn-back line.
Conditions cross your written line for wind, visibility or warmth. You cancel without bargaining with yourself.
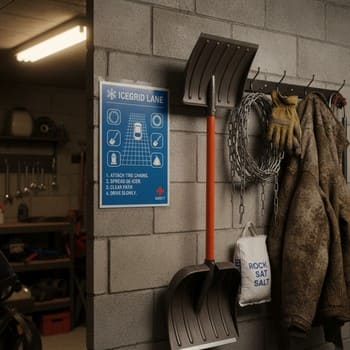
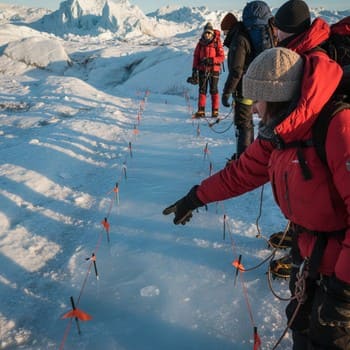
On-ice grid
Your steps and sled follow a simple line: shore, test zone, fishing block and exit.
First measures stay close to solid ground.
You drill a small cluster of holes before going deeper.
Holes sit along one strip with a clear space to walk back.

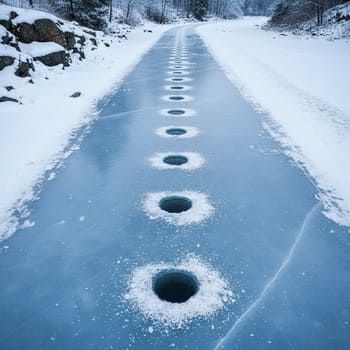
Hole spacing
A few simple gaps keep lines clear and the lane safe to cross in the dark.
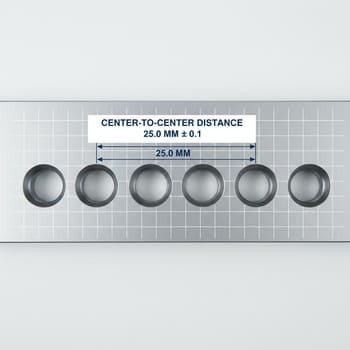
Short gap when you want quick hops between active holes.
Moderate spacing so two people can fish without crossing rods.
Larger steps where you want room for kids, sled and shelter.
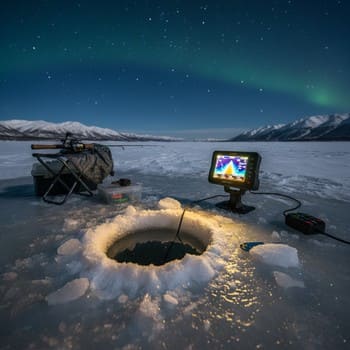
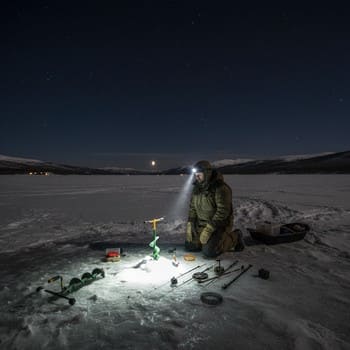
Sonar & grid
Screen, holes and sled line up on the same strip, so every move makes sense in the dark.
Sonar sits where you can see it while watching the nearest hole.
Cables run along the sled edge, not across the walking line.
No holes behind the sled, so you always have a clean retreat.

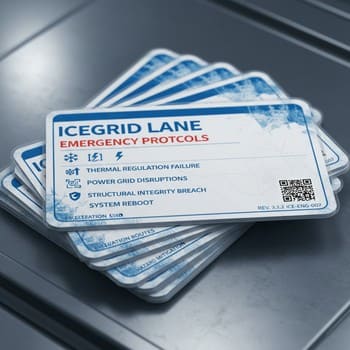
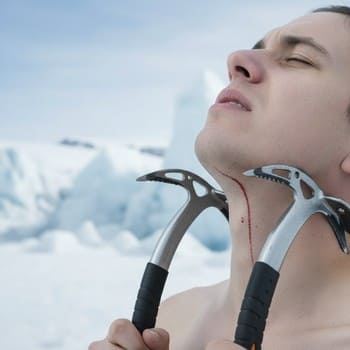
Emergency pocket
Picks, rope and a whistle live in one lane on your body, not at the bottom of the sled.
Ice picks hang on a short cord under your jacket, easy to grab even with gloves.
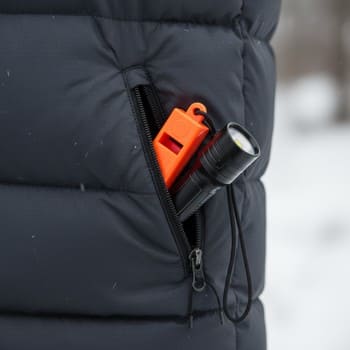
Small whistle and light live in one zipper pocket you can find without looking.
Throw rope sits on top of the load, coiled and clipped to a sled loop.

Group roles
Small, clear roles keep the night quiet: one leads, one watches time, one looks after the lane.
Walks first, checks ice and decides when to turn back.
Tracks return hour and short break reminders.
Keeps the walking path free of gear and extra holes.
Checks how everyone feels, hands out warm drinks and layers.
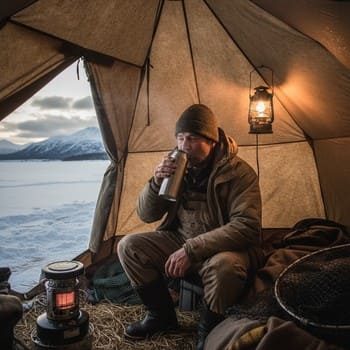
Night pace
A light pacing strip keeps everyone warm and the route familiar, even when bites are slow.
Short pause near shore to adjust layers and test hands.
Hot drink, snack and quick look at weather and ice notes.
One clear call that the next few fish are the last for the night.
Quick note home that you are off the ice and heading back.
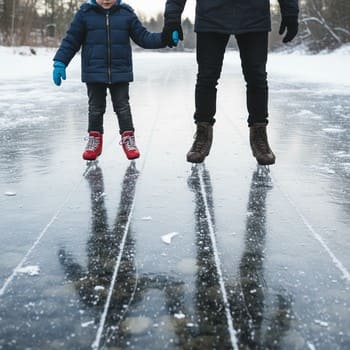
Kids & first timers
Simple rules on one card: where to walk, when to rest and how to say “enough” before anyone gets too cold.
Hands feel warm, feet are dry and everyone still talks about fish, not cold.
Pink cheeks, quiet voices, more time looking at phones than at holes.
Cold tears, stiff fingers or any child saying “I want to go home” twice.
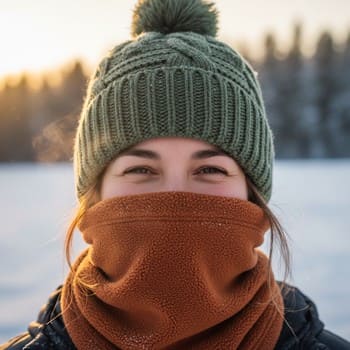
Comfort checks
One quick look at faces, hands and steps when you change holes tells you more than any forecast.
Is anyone squinting or turning away from the wind all the time?
Do gloves stay on? Can everyone still tie a simple knot?
Does anyone drag feet or stop more often than before?
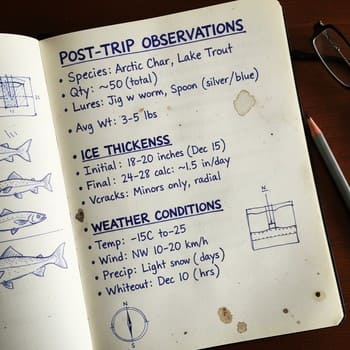
After the trip
A short note on paper remembers more than your phone camera: which lane felt right, how the ice sounded and when you chose to leave.
Lane & ice: Which card did you use and how did the thickness match?
People: When did someone first ask “how long are we staying?”.
Turn-back: Did you stick to the written time or stay longer than planned?
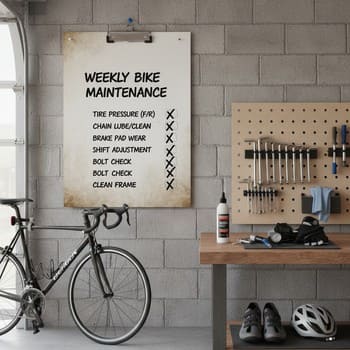
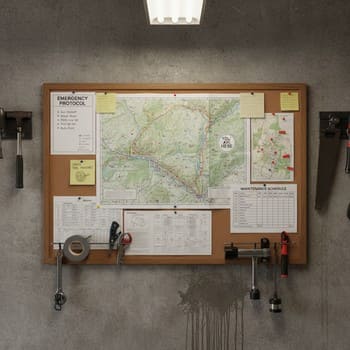
One safety board
Lane cards, cancel lines and emergency notes all live in one place, not across five different apps.
Cards for lane A, B and C clipped in a row, easy to grab before you leave.
Cancel band, return hour and a simple note of who is coming with you.
Small card with rescue steps and the number you call first.
Choose a lane, fill a small card and walk the same calm pattern each time you go out.