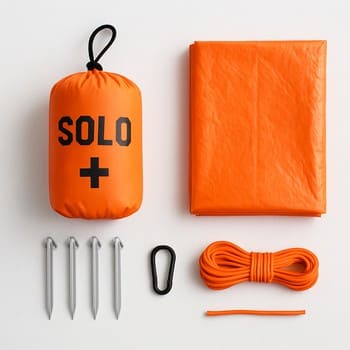
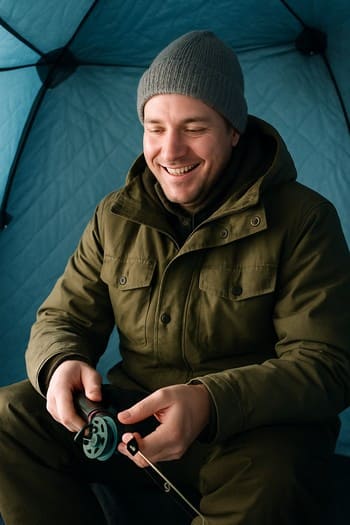
Light sled, small shelter, core tools only. Built for short night windows and easy exit.
Kits & gear
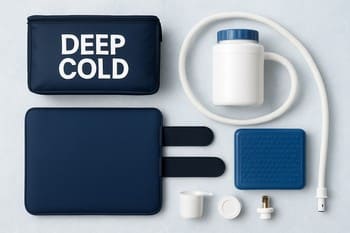
Start with how you move on the ice: solo scan, family bubble or deep-cold push. Each bundle is packed to sit on the grid without loose pieces or guessing.
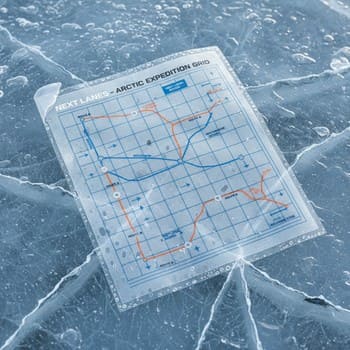
Lane matrix
Read across each lane and you instantly see how heavy the sled should be, how much comfort you can afford and which tools never move between kits.

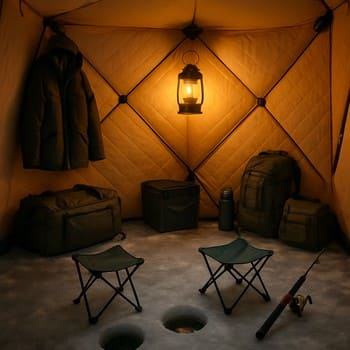
Kit anatomy
Each bundle breaks down into small, named cells. When you unpack on the ice, you already know where every piece is going to land.
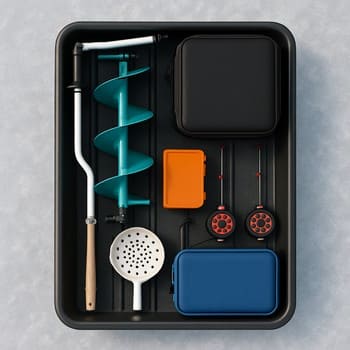
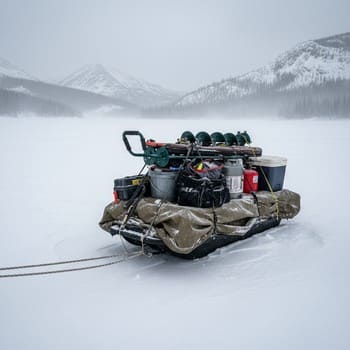
Packed low and centred so the sled stays stable when you pull it across rough ice.
Heater and fuel locked on one rail, away from wet slush and loose clothing.
Rods, lures and leaders where your hands go first when you open the sled.
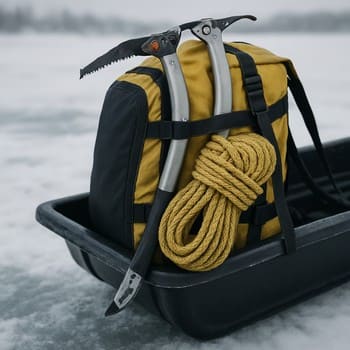
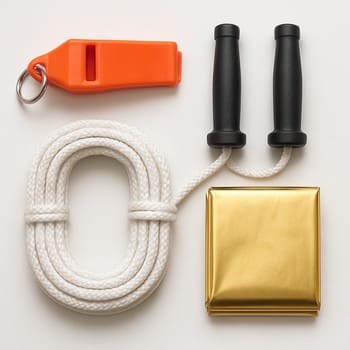
Picks, rope and throw bag clipped on the outside, never under “fun” gear.
Weight vs comfort
Each lane has a different balance point. Once you know where yours sits, you stop arguing with backpacks and spare chairs.
Fast pull, one bag, no loose “maybe” items.
Extra seats and snacks, but still under the calm line.
Heavy sled on thick ice, scheduled breaks and exit time.
Preset bundles
Pick a preset, check the lane and go. Each bundle already knows its weight, footprint and how much warmth it promises.
Light sled, small shelter, core tools only. Built for short night windows and easy exit.

Extra chairs, snacks and spare mitts, but all inside one clean footprint on the grid.
Sonar, backup heat and deeper jigs stacked in one stable pattern for thick ice.
Pocket modules
Drop a small dry bag or tool roll into any kit. Each one is focused on a single job: light, warmth or safety.
Headlamp, spare batteries and a tiny lantern packed in one slim sleeve.
Hand warmers, thin liner gloves and a light hat for sudden chills.
Picks, whistle and throw rope that live outside the main bags.
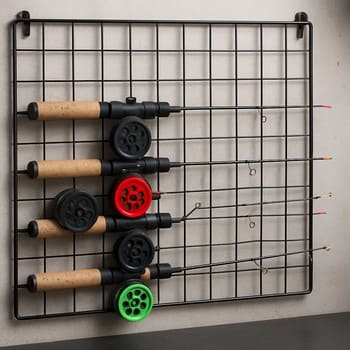
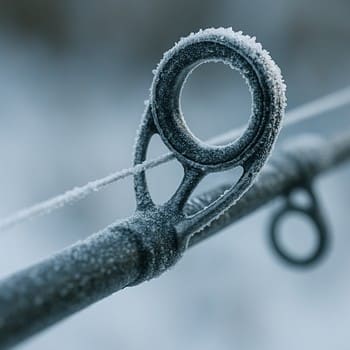
Rods & line
Each lane uses a different mix of power, length and line. When you set them up like this, you stop dragging extra sticks across the ice “just in case”.
One light rod for panfish, one medium rod for a surprise bite, both with thin, quiet line.
Softer actions, forgiving line and simple rigs that survive dropped tips and excited swings.
Heavier rods with firm backbones, plus a spare spool if ice builds up or a fish runs wider than planned.
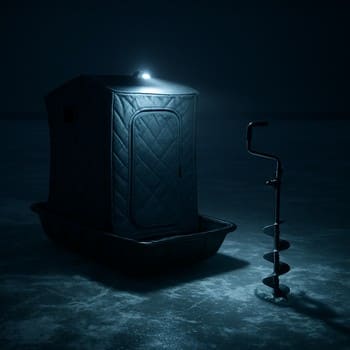
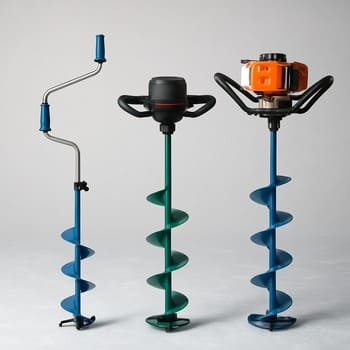
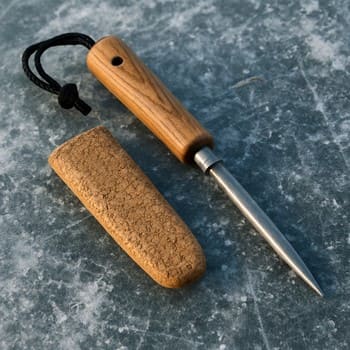
Drills & holes
Slow hand auger for quiet nights, fast electric for scouting and a solid spud bar for the first steps. Mix them wrong and your lane feels heavy before you even wet a line.
Light, reliable and quiet. Perfect for Lane A when you only drill a few measured holes.
Quick scouting on thicker ice. Keep a spare battery in a warm pocket instead of the sled.
Heavy bar for testing early ice and sleeves that stop holes from chewing at your boots all night.
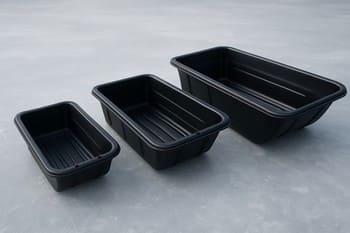
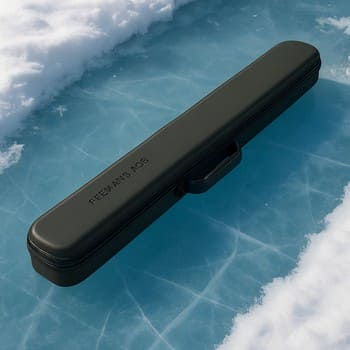
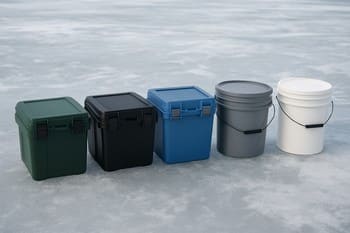
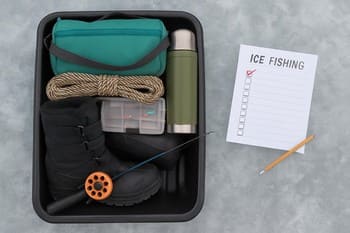
Crates & bags
The crate or bag you sit on decides where everything else goes. Keep one main shape and the whole kit stays predictable on every trip.
Hard box that acts as a seat and keeps tools up out of slush.
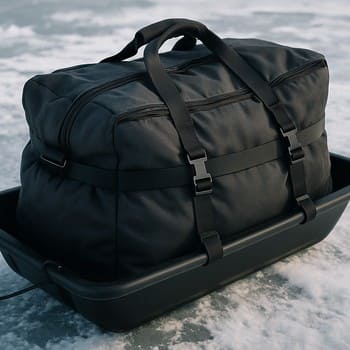
Padded duffel that shapes itself to the sled but needs a dry base.
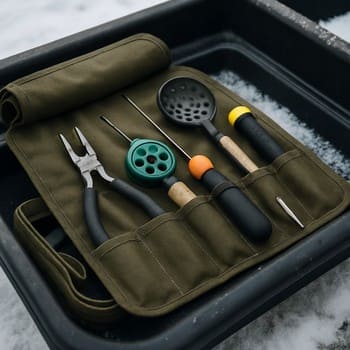
Small organiser for tools and tackle that switches between kits.
Classic bucket with lid and inserts, ideal for simple Lane A nights.
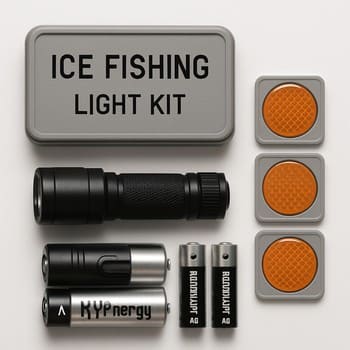
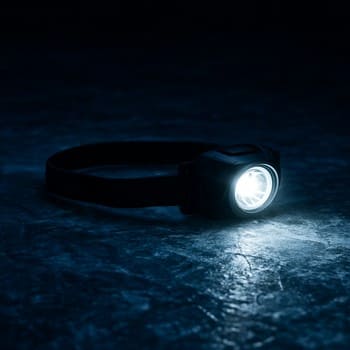
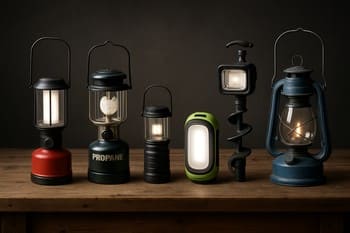
Light grid
Treat light like another module in the bundle: one beam for the path, one glow for the holes and one soft pool inside the shelter.
Narrow beam aimed where your boots and auger go, not into the sky.
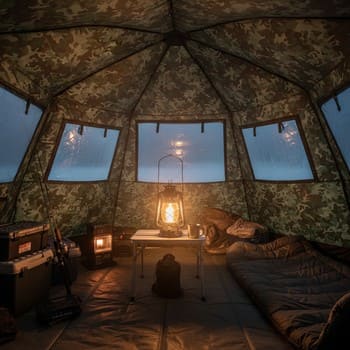
Small lantern that lives next to the holes so you read bites without washing out sonar.
Soft, warm light inside the tent, bright enough for knots but gentle on tired eyes.
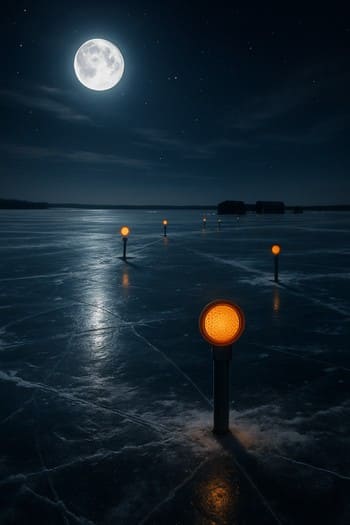
Reflective tags and a single beacon that point back to shore after you pack.
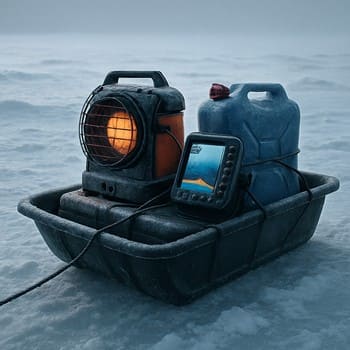
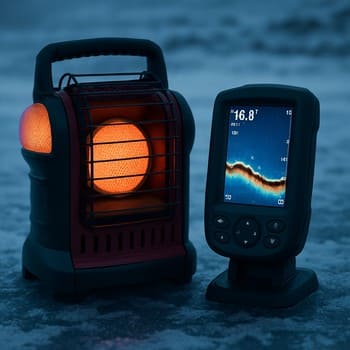
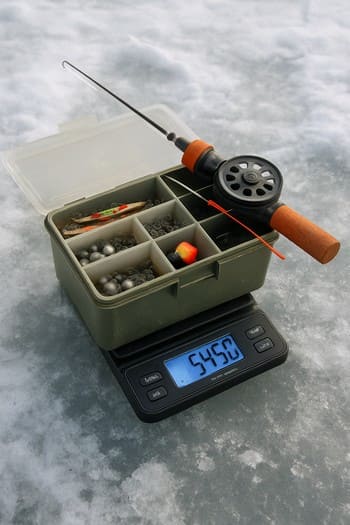
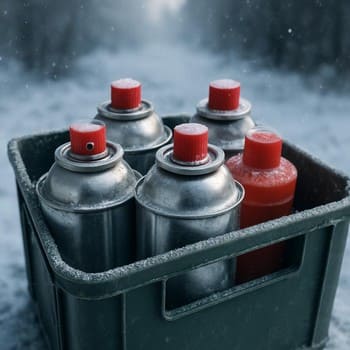
Fuel & power
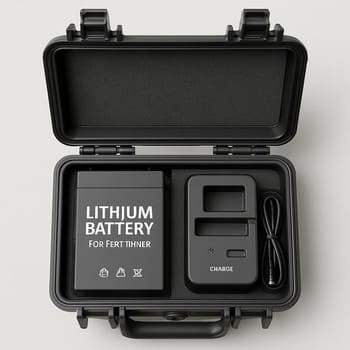
Gas, batteries and cables live in tight blocks. You always know which cube to grab when the heater blinks or sonar fades.
Cylinders ride in a crate with rigid dividers so they never roll into rods or clothing.
Batteries sit in a padded case with clear labels for sonar, lights and tools.
One small can or pack reserved for the walk home if the night runs long.
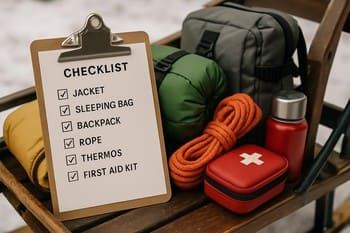
Packing check
A short check on the bench and beside the sled catches loose tools, missing gloves and the one cube you always forget.
Tools, lures and spare line all off the table and into one clear container.
Phone, keys and documents sit in a dry pocket, not loose in the sled.
One quick look at the map: which lane, which kit, which latest return time.

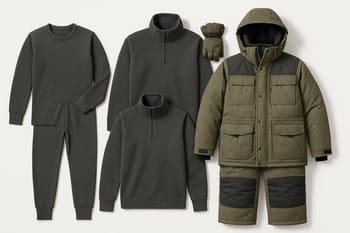
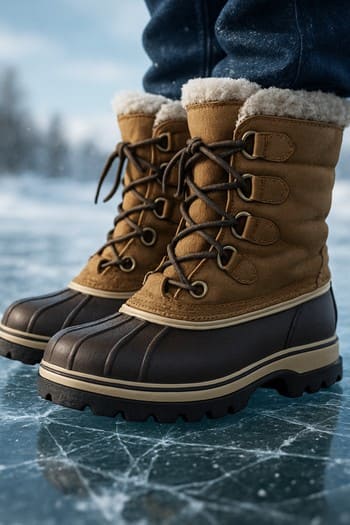
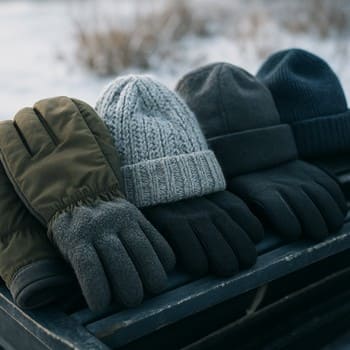
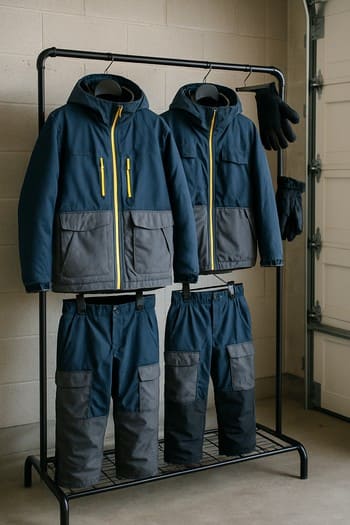
Layers & boots
When clothes are packed as modules, you stop stuffing spare jackets into random gaps. Each lane gets its own stack of dry, warm pieces.
Thin base, one warm mid layer and a shell that blocks wind when you move a lot.
Extra mid layers and dry socks in a shared cube so small hands stay warm when bites slow down.
Heavy parka, insulated bibs and backup mitts that never swap places with tackle.
One pair on your feet, one dry pair waiting in a labelled bag for the ride home.
Kids & guests
A first night on the ice should feel simple and safe. These modules plug into any lane without overloading the sled.
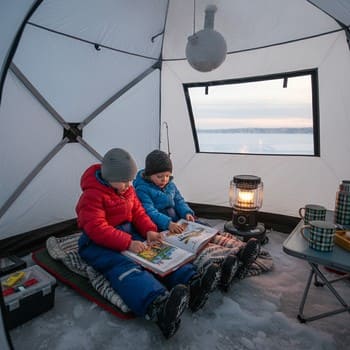
Extra seat pads, blankets and a spare mug live in one bag marked for new anglers.
Pre-tied setups on short rods so guests can fish without fighting knots in the cold.
A printed card with a clear return time and route written in plain language.
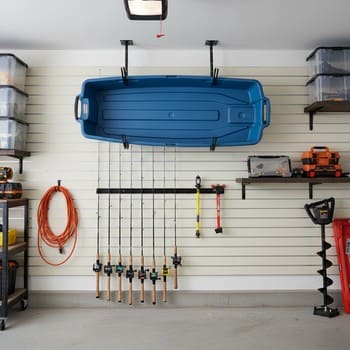
Dock & dry
How you unpack at home decides how easy the next night will be. A fixed drying corner and wall hooks turn your kit into a quiet routine instead of a pile.
Wet layers and boots go straight to a rack, not onto the floor where they hide until next week.
The sled hangs on the same wall hooks after every trip, still packed in its basic grid.
Each cube is topped up and closed before you leave the garage, so the next pack starts at calm.
Pre-trip flow
A short, fixed sequence keeps the night calm. You do not need a big checklist app, just the same order on the bench and in the garage.
Set every crate, bag and pouch on the bench so you can see the full grid at once.
Refill fuel, lures and warm layers, then swap any “maybe” items back to the shelf.
Pick A, B or C and remove anything that does not belong in that lane’s weight band.
Strap cubes into the sled so nothing can slide forward when you stop on rough ice.
Wall overview
When kits live on one wall, you can choose a lane with a glance: solo, family or deep cold, each in its own row.

Fast solo crates and light bags ready for short, quiet sessions.
Wider bins with spare mitts, snacks and kid layers grouped together.
Heavy deep-cold cubes, extra fuel and sonar packed for thick ice runs.